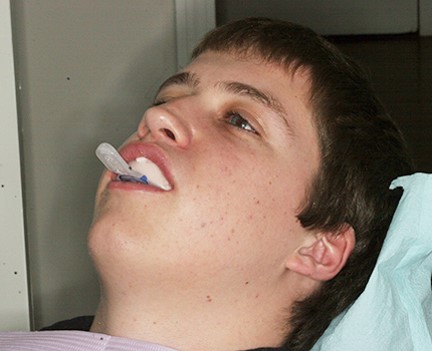
How to Create an Accurate Alginate Impression
The fit of the drill guide on the patient’s teeth is dependent on the quality of the stone model and, thereby, the accuracy of the impression. We need a good model to manufacture a good guide.
Please ensure that each model meets the following requirements:
- No voids
- Captures all anatomy
- Can’t have been fractured and glued back together
- Name of patient and doctor written on the back
- Alignment marks on models which are to be hand articulated
We recommend the following steps to take an accurate impression:
- Smear the impression material (ex: alginate) onto the occlusal surfaces of the teeth and into undercuts by finger pressure before the impression tray is placed. This prevents the occurrence of trapping bubbles in the impression.
- Scoop all of the alginate into the impression tray, spreading it evenly, without overfilling, as it can cause the patient to gag. Place the tray in the mouth, seating the distal of the tray first, and the mesial last. This forces extra alginate to the front and out of the tray, rather than down the patient’s throat. Once seated, ask patient to lift their tongue, hold tray with your fingers until material is set. Fast setting alginate usually sets within 30-90 seconds, and regular set can take up to 3 minutes. Once set, remove the tray by pressing down on the handle to release the suction created by the alginate, and carefully remove the tray from the mouth. You should have a lip roll and all of the teeth and no bubbles in the impression. Wrap the impression in a wet paper towel until you can pour it up. Spray the impression with a disinfectant and drain before pouring with stone or plaster. For best results, the model should be poured within 30 minutes after the impression is obtained prevent distortion.
- Take care to avoid bubbles when pouring the model, since these may affect the fit of the drill guide. We recommend applying a debubblizer (soapy water) to the alginate before the model is poured.
- Remove any excess liquid from the teeth occlusal surfaces of the alginate impression by gently applying a paper towel or lightly blowing air from an air-water syringe tip. The presence of excess liquid in the alginate impression will increase the water to powder ratio of the dental stone, resulting in a slower setting time in addition to chalky, fragile occlusal surfaces.
- Measure the recommended amount of cold water from the dental stone package with a graduated cylinder. Pour water into the rubber mixing bowl. Add dental stone package to water. Mix the dental stone and water with a metal spatula firmly against the inner part of the mixing bowl until you achieve a thick, but fluid-like consistency (takes about 20 seconds). Turn on dental vibrator machine. Place the mixing bowl with dental stone mixture on top of the vibrator. Air bubbles will initially appear in the mixture. Vibrate the mixture until the air bubbles become fewer and smaller in number. Place the alginate impression on the dental vibrating machine. With the metal spatula, add a small amount of dental stone, enough to cover the tip of the spatula to the most posterior aspect (right or left side) of the alginate impression. When pouring the model, fill each concavity in the alginate individually, allowing the stone to flow sequentially from one concavity to the next. Allow the dental stone to slowly flow through all the indented occlusal surfaces inside the impression while you rotate the impression on the dental vibrator to remove additional air bubbles that will come to the surface. Add larger amounts for dental stone to fill up the alginate impression, once the occlusal surfaces have been carefully covered. All models need adequate bases, as models without bases tend to break during shipping. Briefly place the impression on the vibrator for 2 to 3 seconds to ensure the dental stone is evenly distributed in the alginate impression. Leave the dental stone model undisturbed for 45 to 60 minutes until the material completely sets.
- Write the name of the doctor and the patient on the bottom of the model.
- If model is to be hand articulated, put alignment markers on models.


Comments are closed.